Tip: For more advanced and easier to use automated replies to conversations, consider using Workflows.
Respond.io has extensive integrations with Dialogflow that cater to various use cases, including creating chatbots.

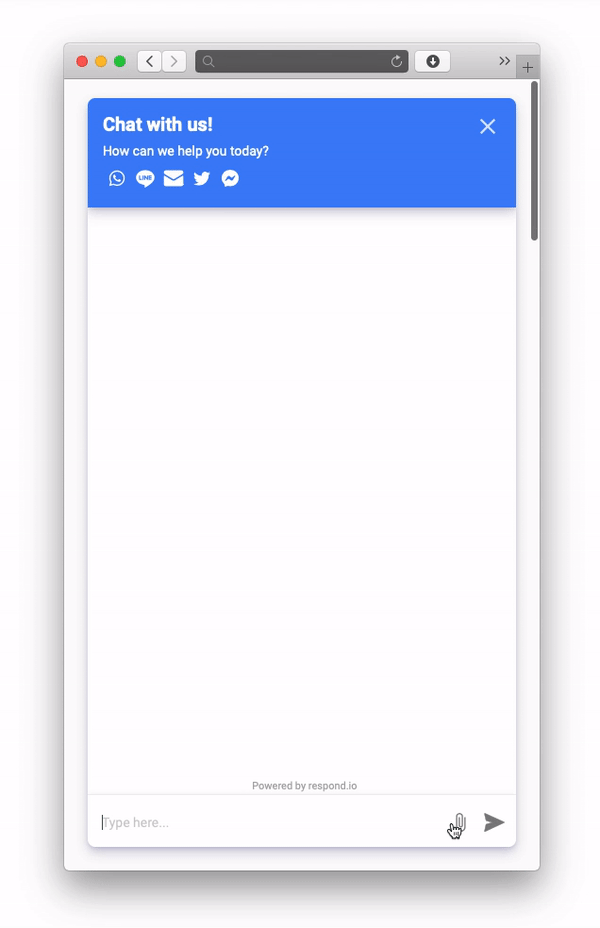
The following image shows an example of how Dialogflow can be used to automate specific responses.
Tip: To better understand the integration between Dialogflow and respond.io, read the following blog posts:
How To Build a Chatbot with DialogflowHow To Use respond.io As a Dialogflow CRM
Dialogflow's chatbot is not supported for email channels on respond.io due to Dialogflow's intent text input limit. Consider using Workflows.
Follow the guide below to connect to Dialogflow
For this guide, we will create a basic intent that enables the chatbot to answer inquiries regarding operating hours.
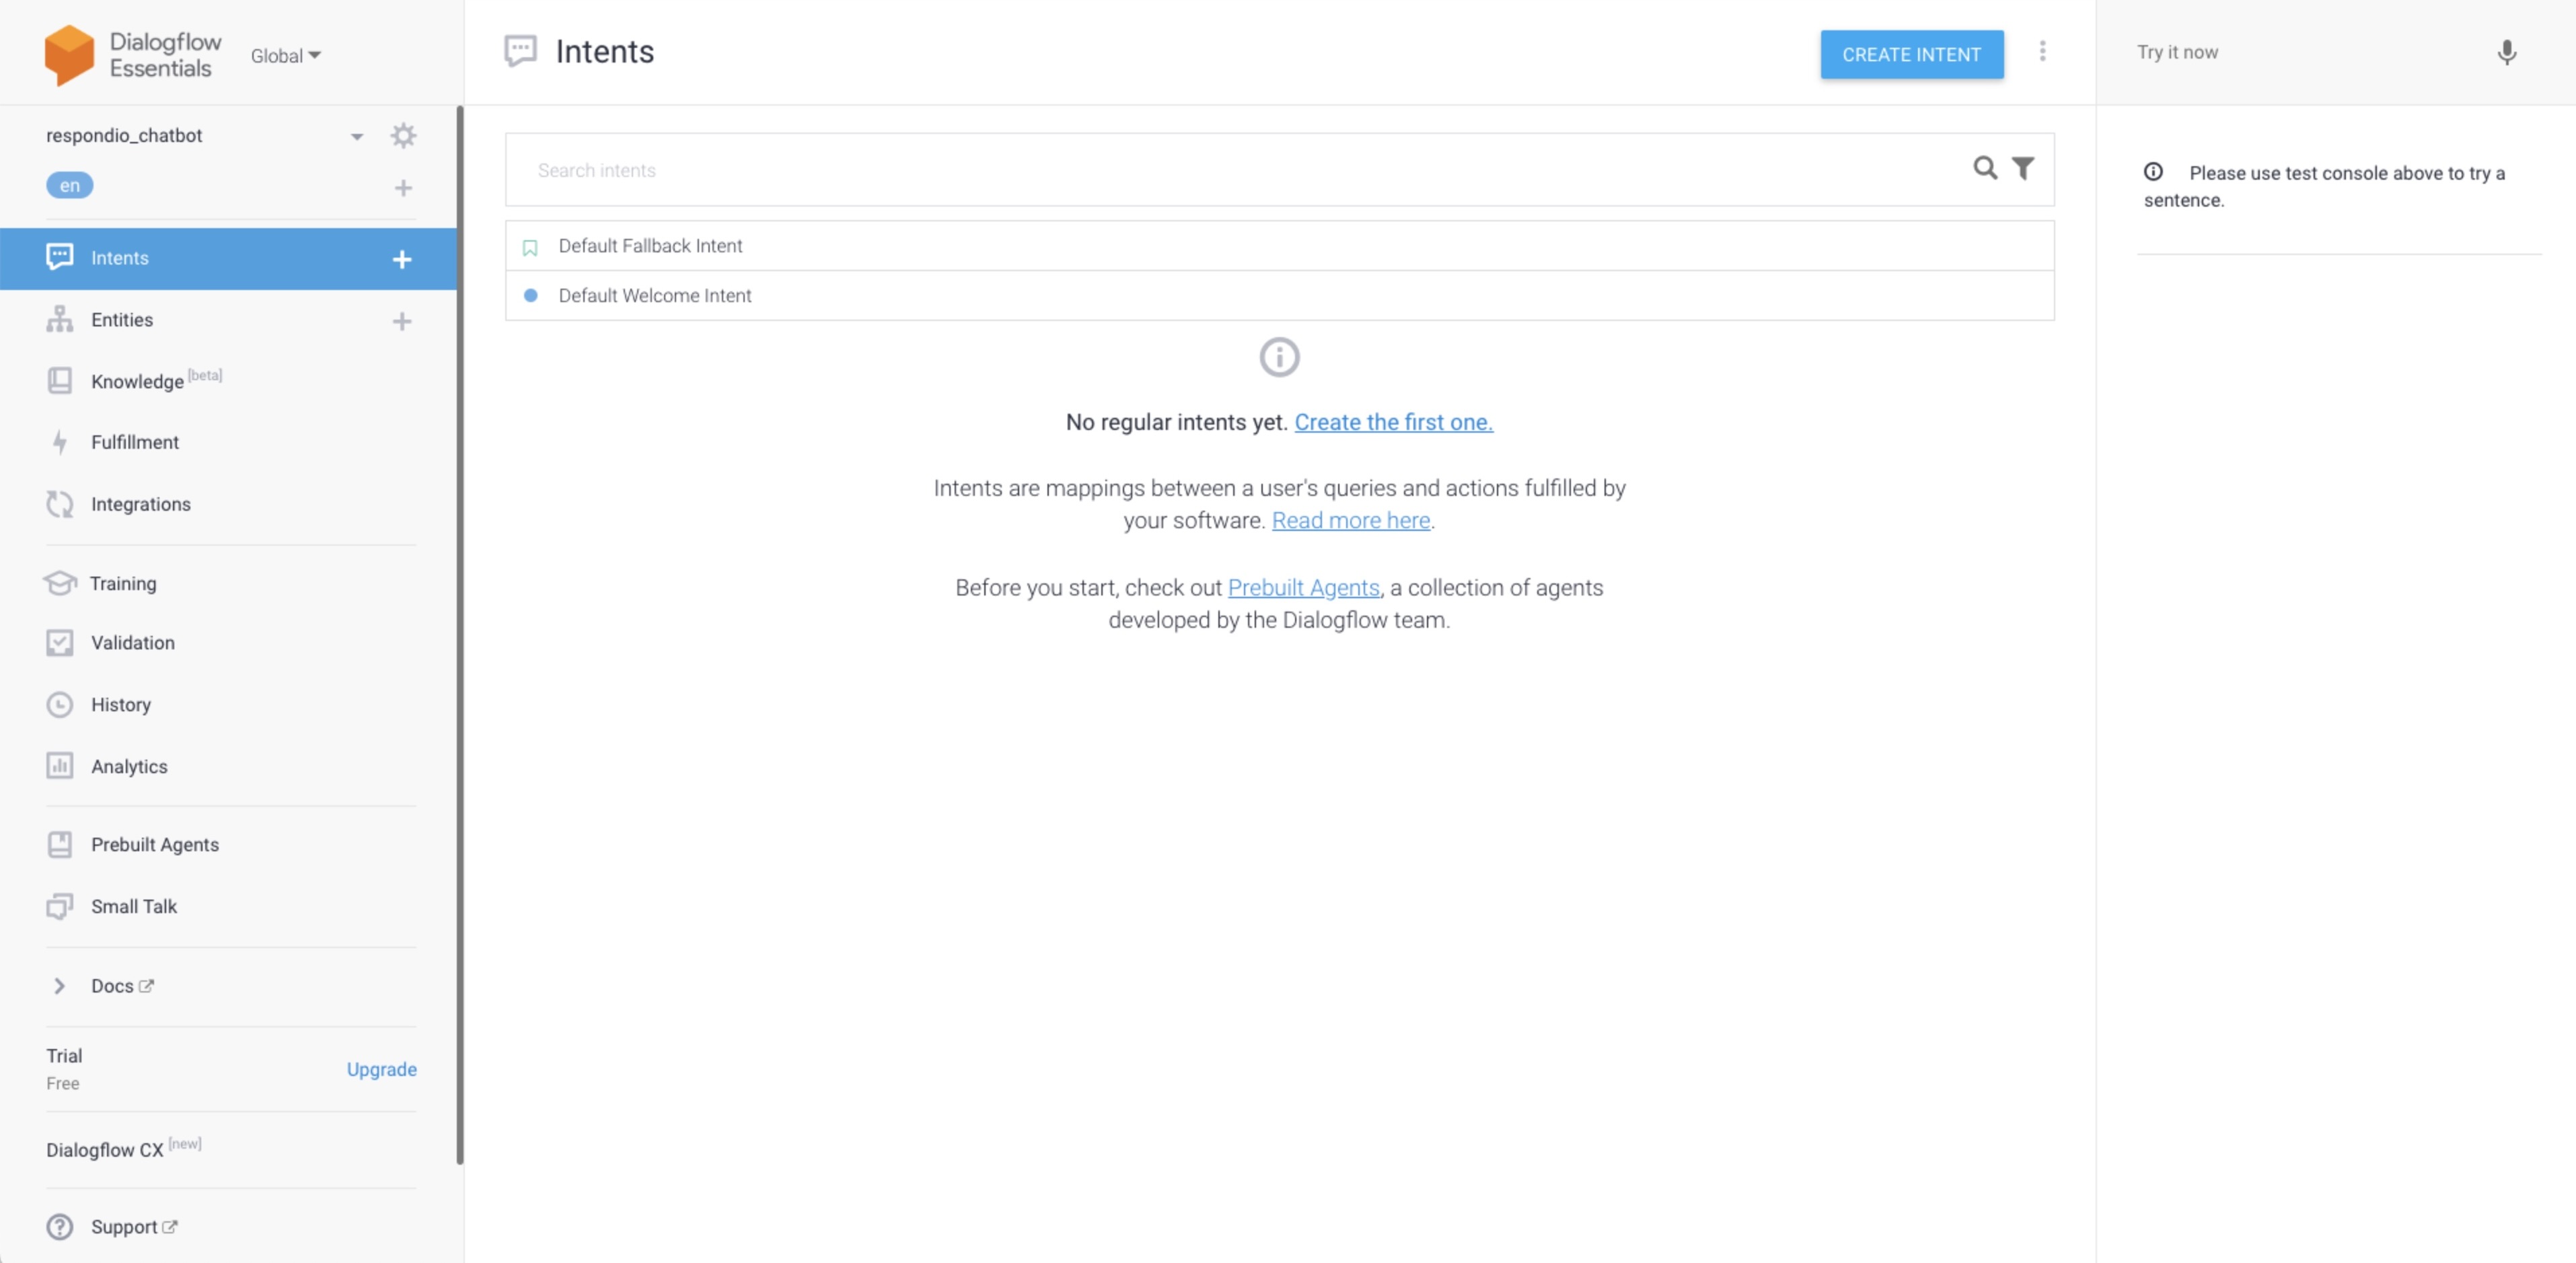
Step 1: Create Intent
Navigate to the Dialogflow console and click Intents on the side navigation menu. Press the ➕
or CREATE INTENT from the top of the module.
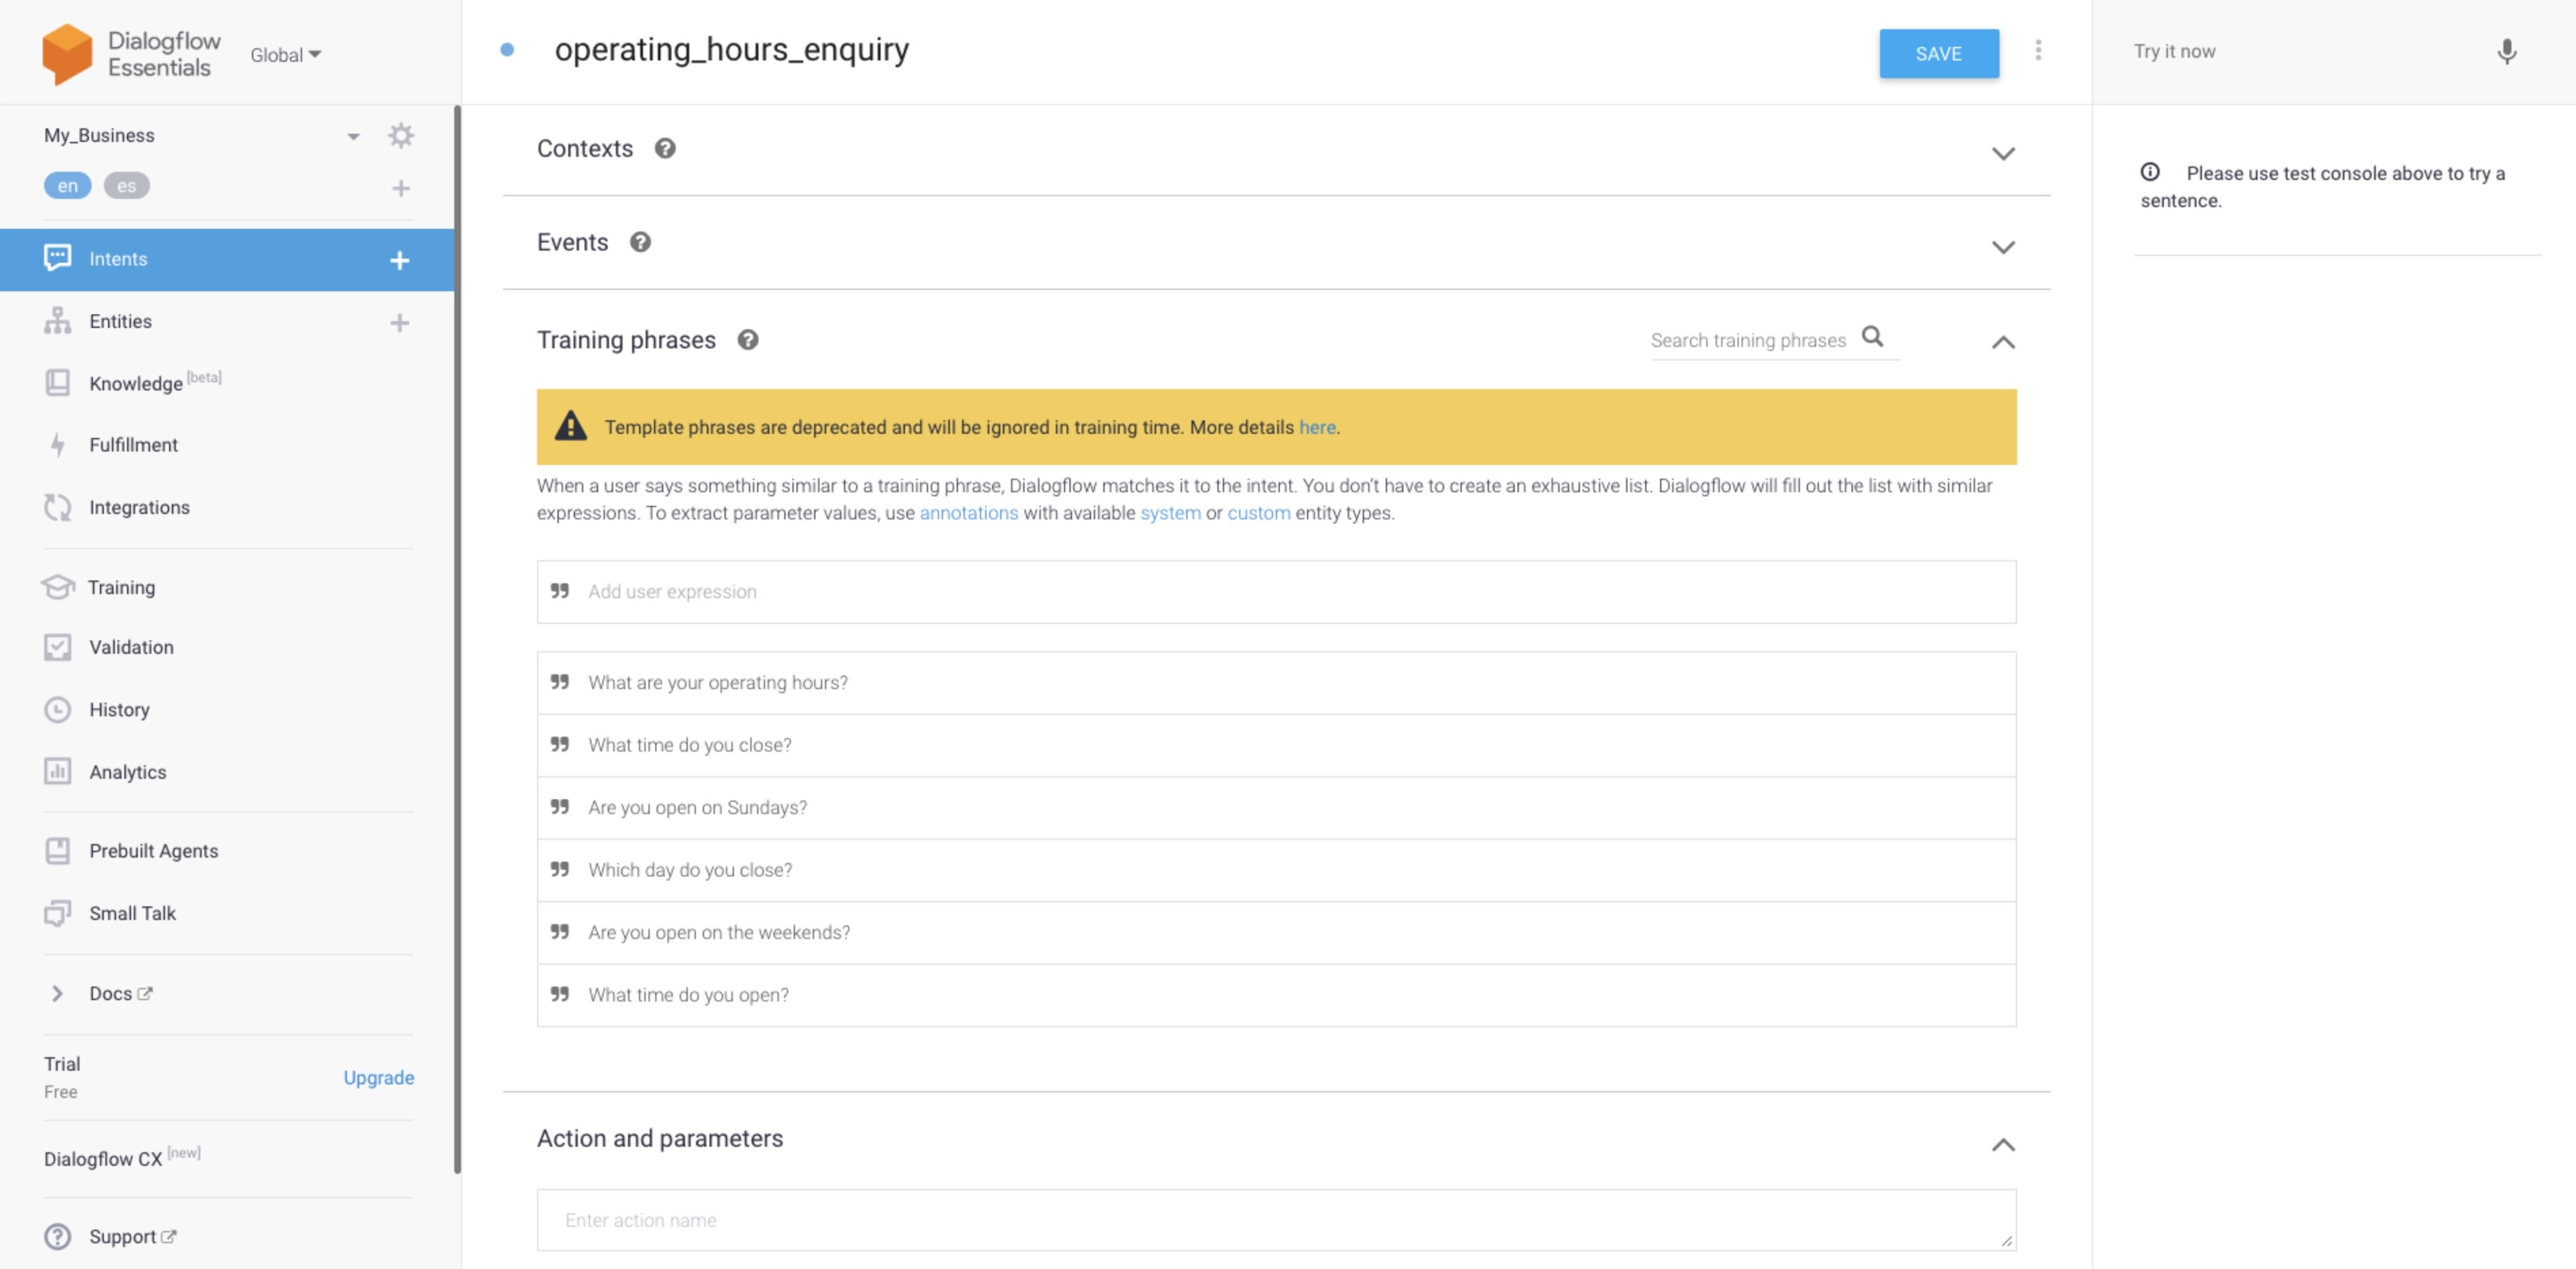
Step 2: Name Your Intent
Enter a name for your intent. Your intent name should represent the end-user expressions it recognizes. For example, operating_hours_enquiry.
Step 3: Include Training Phrases
The template phrases will be deprecated and ignored during training. Learn more here.
Training phrases are the phrases that will trigger the specific intent and the expected behavior.
You can compile the most commonly asked questions in regards to operating hours and include the list as training phrases.
For example,
What are your operating hours?
What time do you close?
Are you open on Sundays?
Which day do you close?
Are you open on the weekends?
What time do you open?
What time do you close?
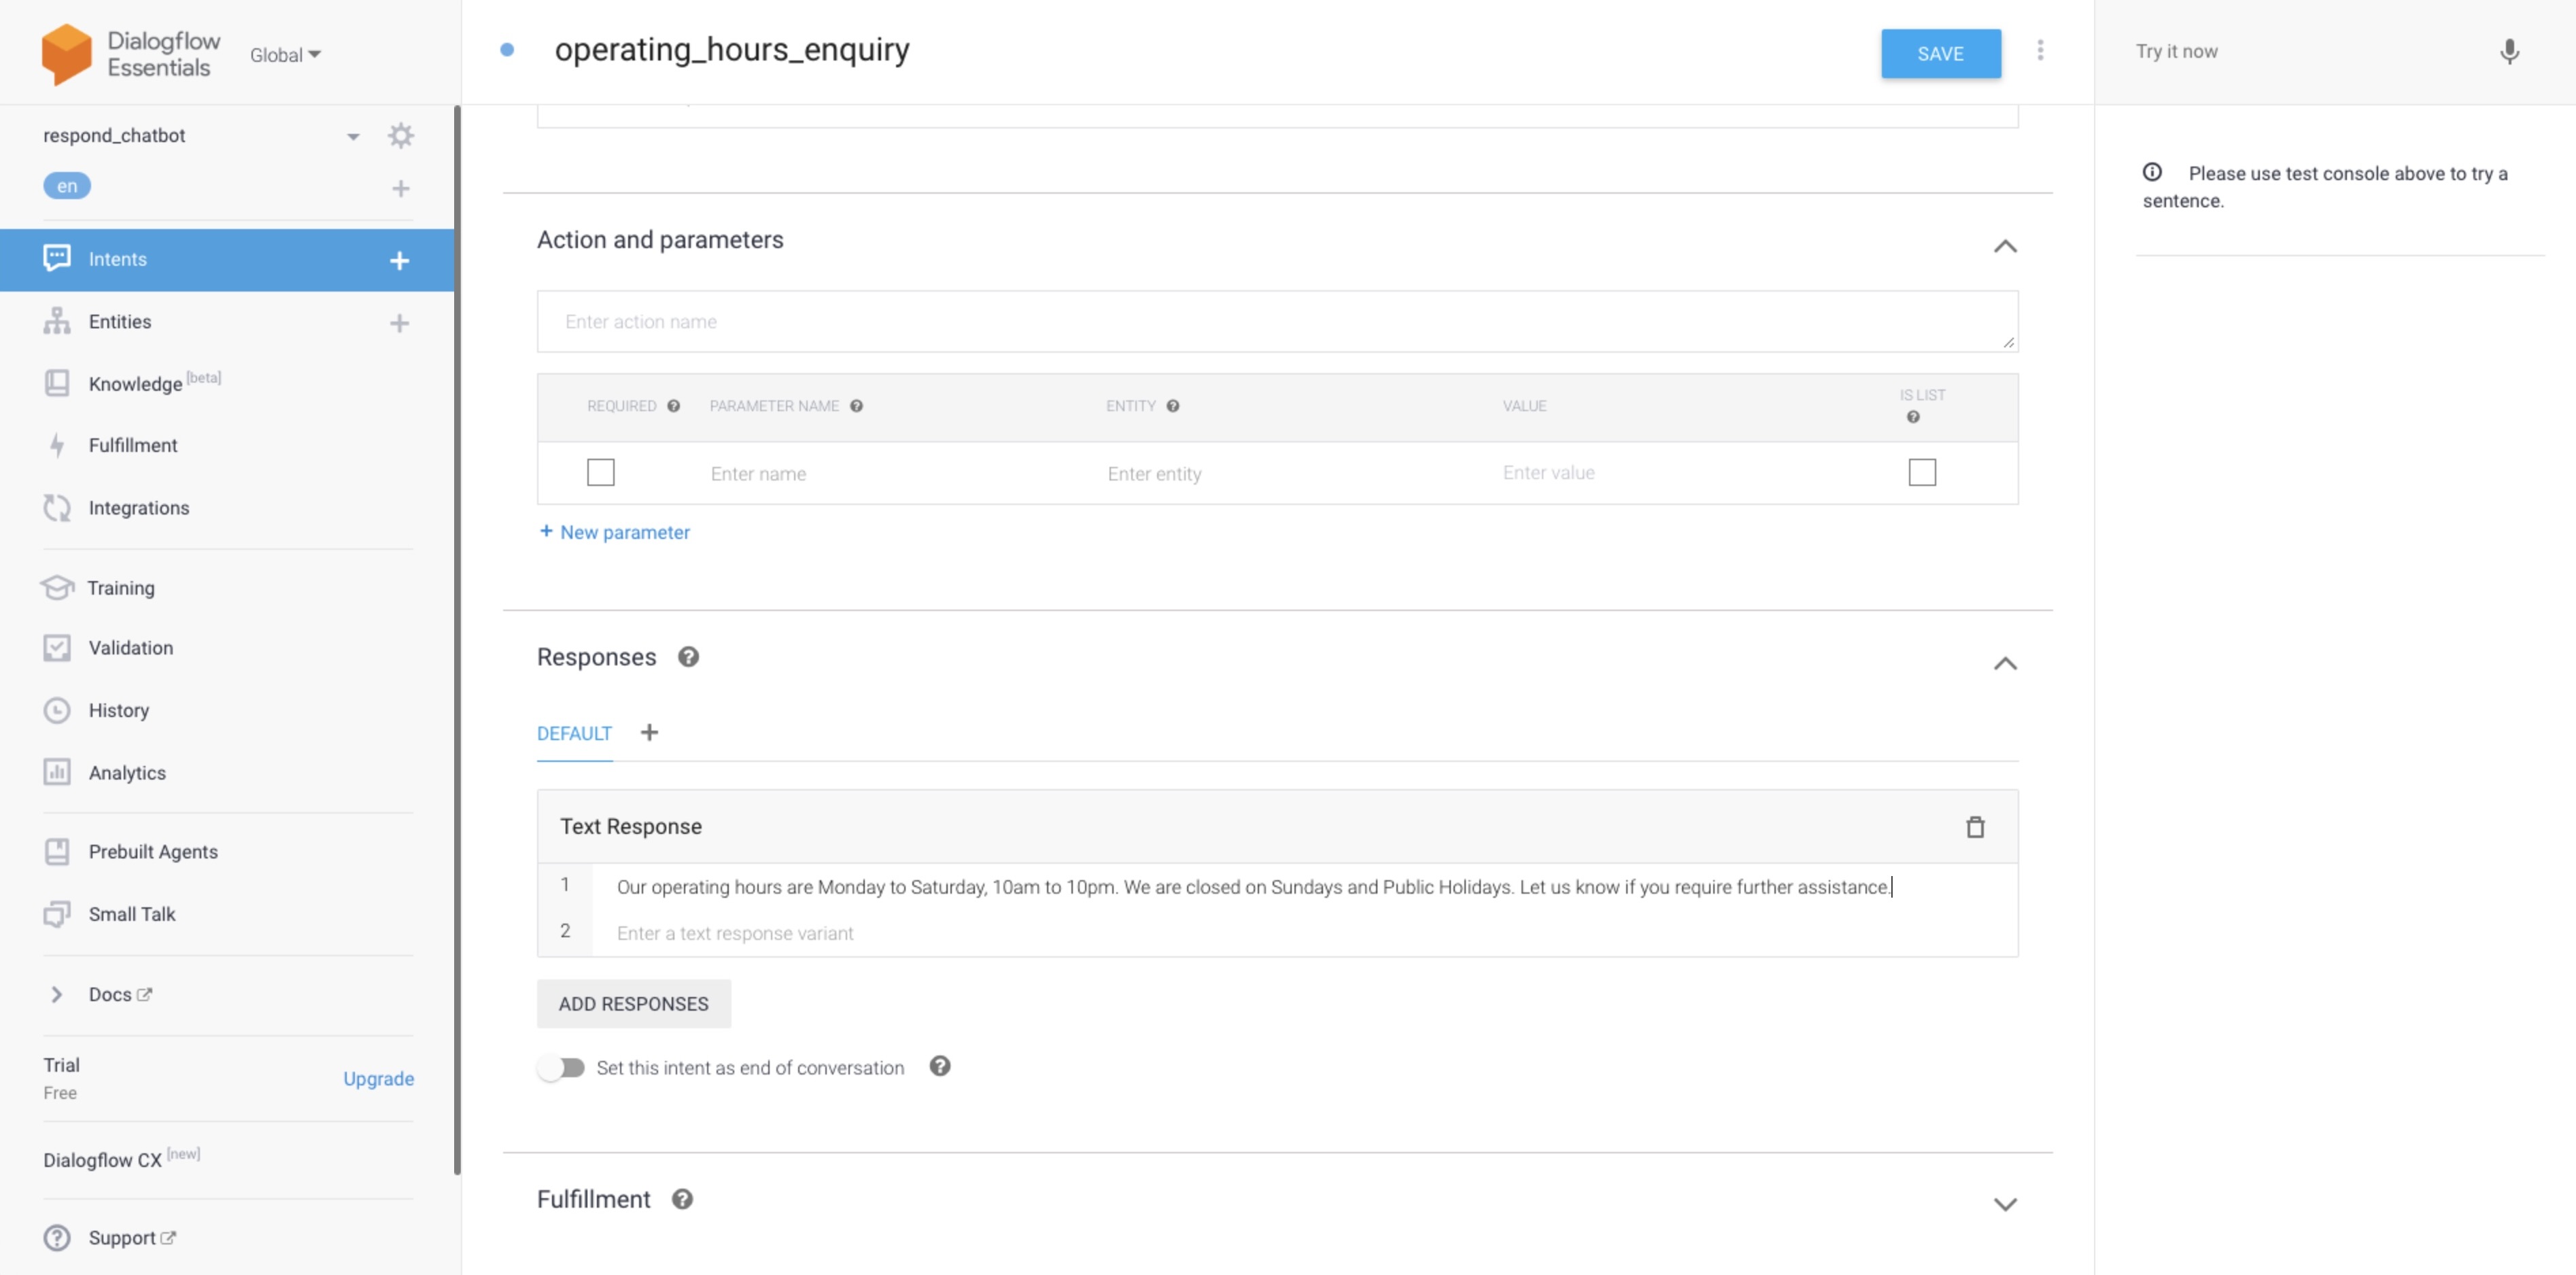
Step 4: Build Intent Response
Scroll down to the Responses section and add a Text Response.
Tips: You can send multiple responses.You may add a few response variants and a response will be chosen by randomized selection for the Contact.
The response we will build for this intent is:
Our operating hours are Monday to Saturday, 10am to 10pm. We are closed on Sundays and Public Holidays. Let us know if you require further assistance.
Step 5: Test It Out
You can test it with the testing panel located at the right side of Dialogflow or test it with the connected Channels.
Now that you know how to create an intent, enhance it with more use cases specific to your company.


Related articles 👩💻

