To begin building your Workflow and defining its next Steps, you first need to set up a Trigger. Once the Trigger is configured, you can proceed with adding and configuring the necessary Steps.
Here are the various actions you can perform with Workflow Steps:
To add a new action within the Workflow, add a Step by clicking on the + node to select the desired action from the list.
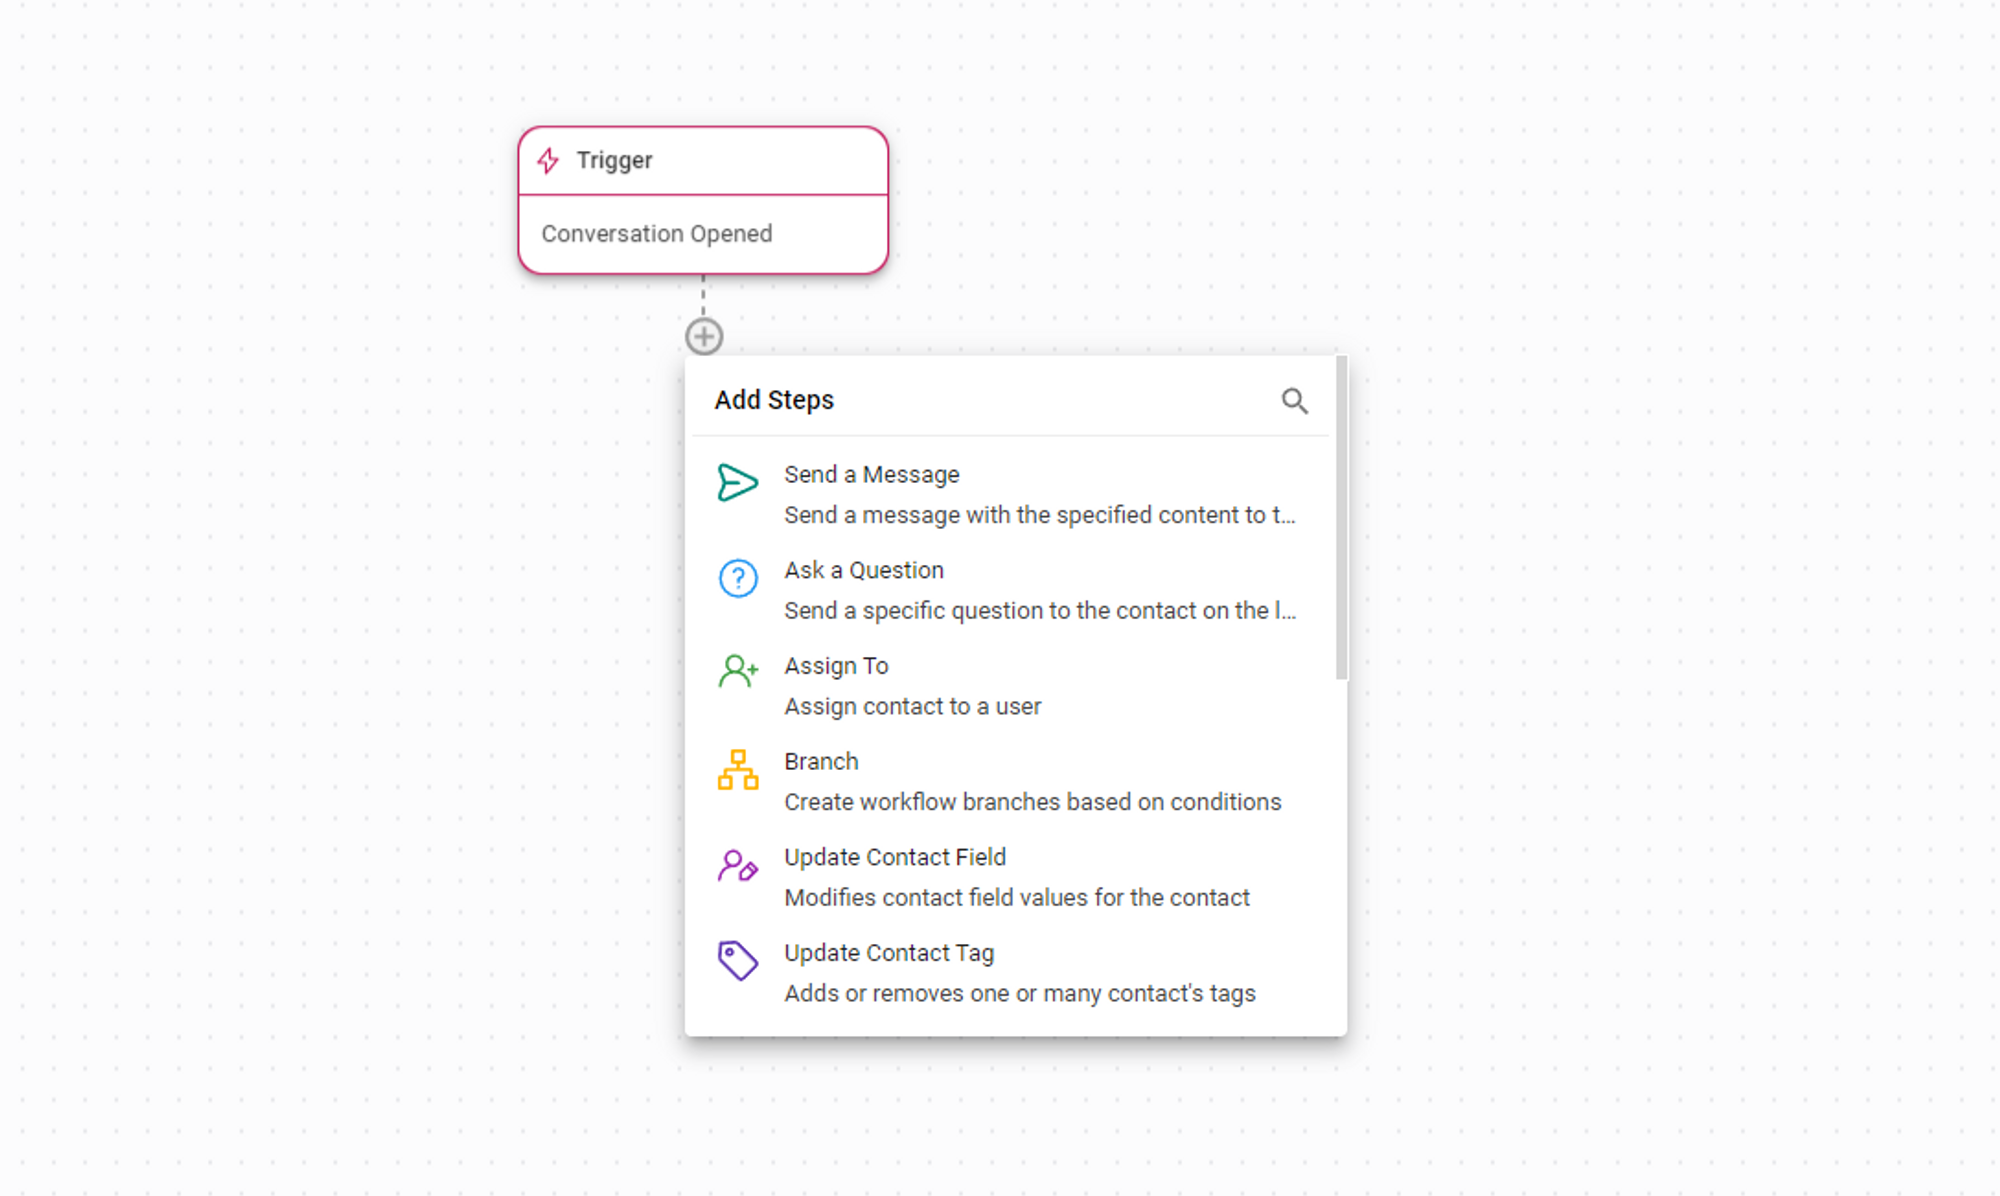
Important information: Maximum 100 Steps per Workflow.
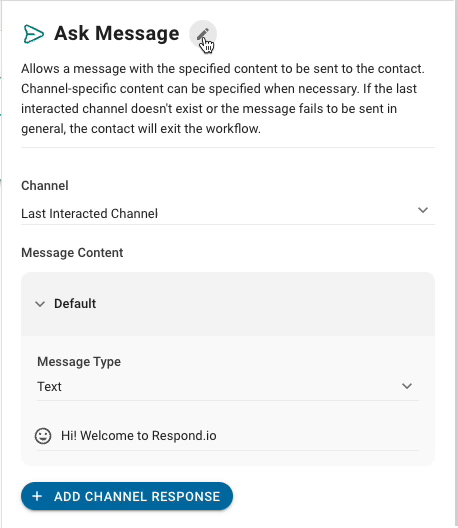
To configure a Step, click on a step to access the configuration drawer on the right and customize its settings according to your preferences. Depending on the specific Step, you can add various configurations and other advanced settings.
To edit the Step name, click the Edit icon and input the desired name for this Step. Then, click the green tick icon to confirm the changes.
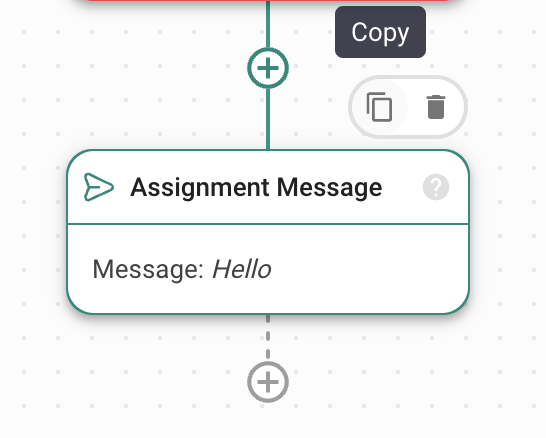
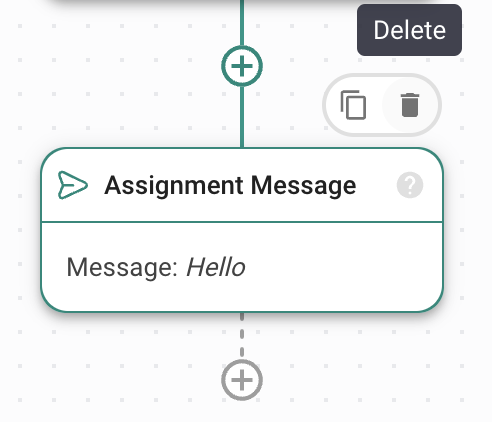
To copy a Step in the Workflow, hover over the Step and click the Copy icon that appears on the top right.
To paste a copied Step in the Workflow, click on the + node you want to paste the Step in and select Paste Step (with the copied step name) in the Add Step menu.
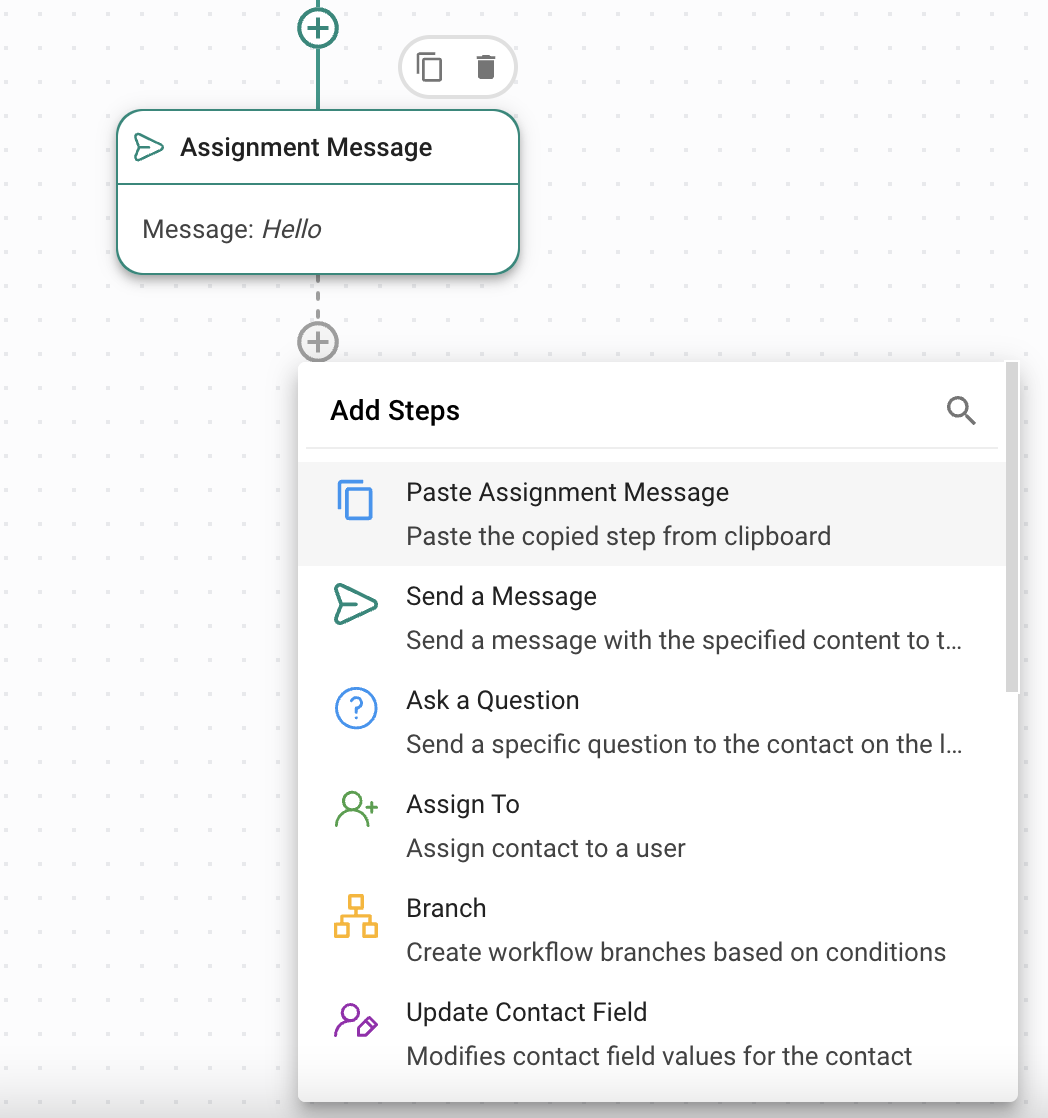
Step duplication is only possible within the same workflow.
Click and hold the Step and drag it to the desired position to move a Workflow Step. When moving a parent Step with child Steps attached beneath it, all the child Steps will be moved together with the parent Step.
To remove a Step from a Workflow, hover over the Step and click the Delete icon that appears on the top right.
If you delete a Step with branches (e.g. Branch, Send a Message), all the subsequent Steps will also be deleted. A dialog box will appear to confirm this action.
Below is a list of available steps in the Workflows module. You can click on each step to learn more about its functions.
Step | Description |
|---|---|
AI Agent | Automate Conversations using AI Agent. |
Send a Message | Send a customized message with specific content to the Contact.Ask a Question |
Ask a Question | Prompt the Contact with a specified question on the Last Interacted Channel. |
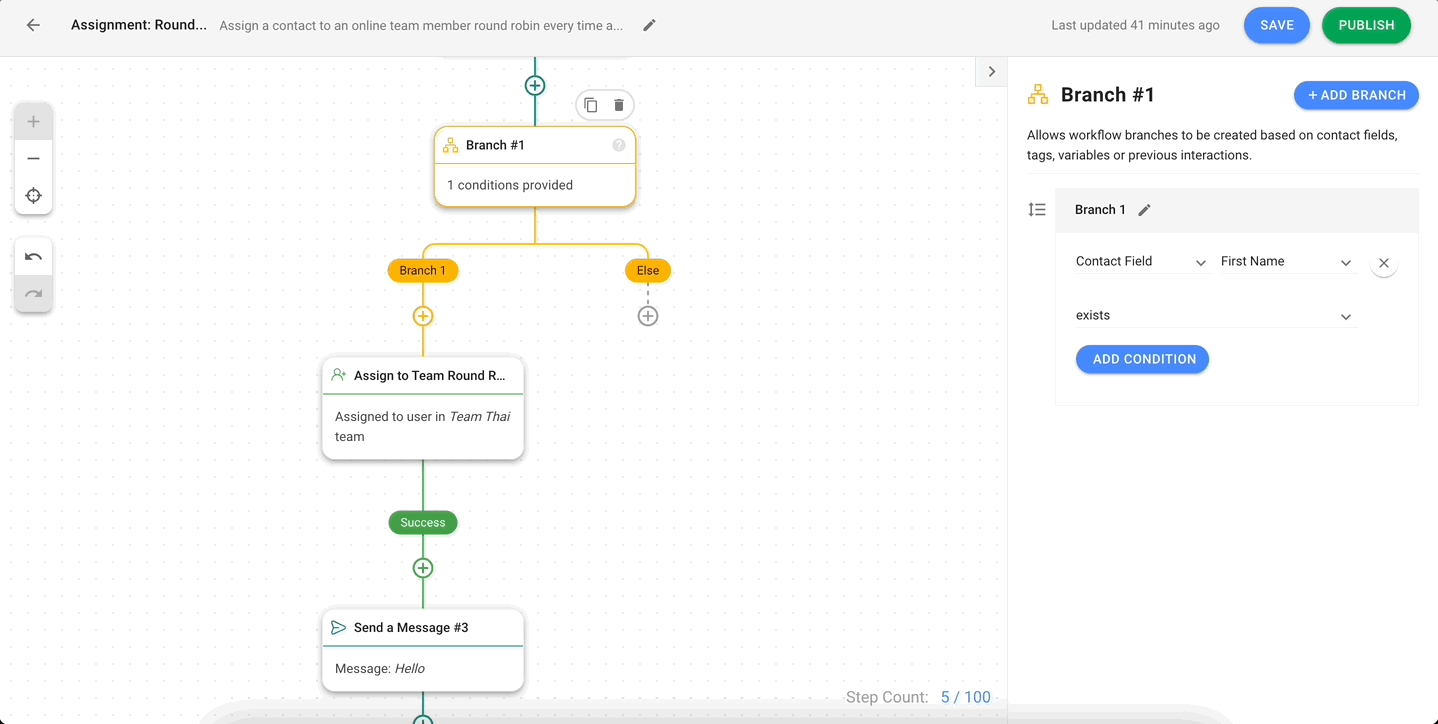
Assign To | Assign the Contact to a specific user, a user in a team, a user in a workspace, or unassign it.Branch |
Branch | Create Workflow Branches based on conditions to direct the flow of the Workflow. |
Update Contact Tag | Add or remove one or multiple Contact Tags associated with the Contact. |
Update Contact Field | Modify the values of Contact Fields for the Contact. |
Open Conversation | Open a Conversation with the Contact. |
Close Conversation | Close the active Conversation with optional closing notes. |
Add Comment | Add an internal comment about the Contact or conversation. |
Jump To | Redirect the Workflow to a different Step in the journey. |
Wait | Pause the Workflow for a specified period of time before advancing. |
Trigger Another Workflow | Allows a Contact to continue in another Workflow from a particular Step or the beginning of a chosen Workflow. |
Date & Time | Create Workflow Branches based on date or time conditions. |
HTTP Request | Send an HTTP request to another application for integration purposes. |
Add Google Sheets Row | Add information from the Workflow to a Google Sheet. |
Send Conversions API Event | Sends conversion events back to Meta when a Meta ad is clicked, or a message related to a Meta ad is received. |
Send TikTok Lower Funnel Event | Sends conversion events back to TikTok when a TikTok ad is clicked or a message related to a TikTok ad is received. |


Related articles 👩💻

