This setting is accessible by Owners and Managers only!
This setting can be accessed from the Settings navigation menu under the Workspace Settings sub-menu item, Closing Notes.
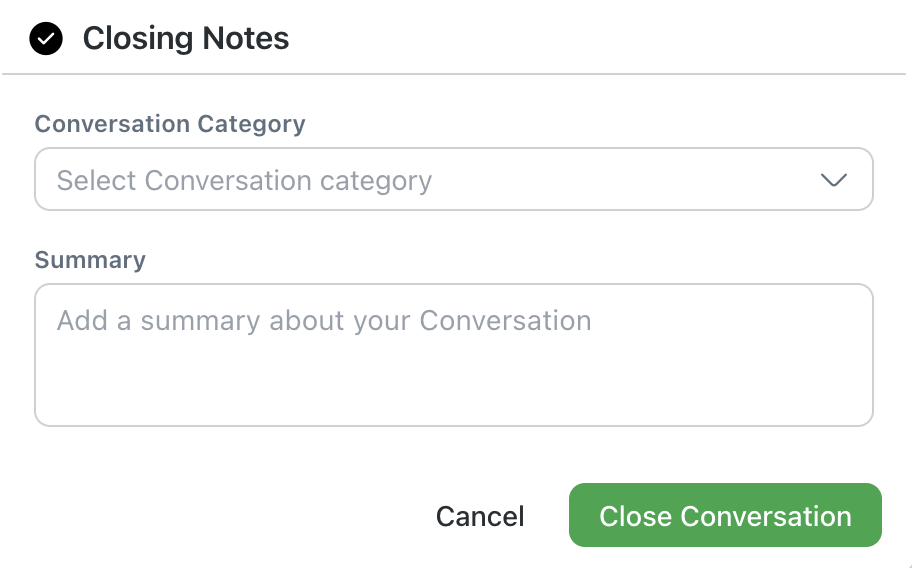
Closing Notes are conversation summaries that can be useful for Managers to better understand the conversations between Contacts and the platform without having to go through the details.
A Closing Note consists of two parts, Conversation Category and Summary. A User can select a category from the dropdown and these categories can be configured in this setting.
Summary is a free input text for Users to summarize conversations to provide context to their Managers.
Depending on the needs of an Organization, there are several options to configure this setting.
Closing Notes Dialog is Optional & Summary is Optional
Users can choose to close a conversation with or without a Closing Note.
Closing Notes Dialog is Mandatory & Summary is Optional
Users are required to close each conversation with a Closing Note. They have to select a Conversation Category. However, the Summary is optional.
Closing Notes Dialog is Mandatory & Summary is Mandatory
Users are required to close each conversation with a Closing Note. They are required to select a Conversation Category and input a conversation summary.
Closing Notes Dialog is disabled
Users can proceed to close a conversation without Closing Notes. Users will not have the option to close the conversation with a closing note.
Step 1: Navigate to Closing Notes
From the side navigation menu, select Settings from the menu and select Closing Notes.
Step 2: Press ADD CATEGORY
At the top bar, press the blue ADD CATEGORY button and the Add Conversation Category dialog should open up.
Step 3: Fill in the required information
Fields | Description |
|---|---|
Category Name | The name of the Conversation Category |
Description | The description of the Conversation CategoryThis will be shown to the users in the Closing Note dialog. |
Step 4: Add Conversation Category
When you have filled in the fields, press the blue ADD button to create the conversation category.
If you need to make a change to an existing category, you can do so by choosing Edit from the Actions menu. Bear in mind that you can only edit the description of a Conversation Category.
If you wish to rename the category, we suggest you delete the existing category and create a new category with your preferred name.
If a Conversation Category is no longer relevant or is a duplicate of another, it can be deleted from the workspace by choosing Delete from the Actions menu.
Be careful when you delete a category as it may be used by other Users in the Workspace. Bear in mind that the deletion cannot be undone.


Related articles 👩💻

