Contact Fields collect Contact information, such as first and last names, preferred languages and location.
The information collected in Contact Fields can be used as dynamic variables to personalize messages. Contact Field changes or updates can be used to trigger relevant Workflows.
Warning: This setting is accessible by Owners and Managers only!
This setting can be accessed from the Settings navigation menu under the Workspace Settings sub-menu item, Contact Fields.
Use the search bar at the top to quickly find the Custom Field that you are looking for.
By default, a set of standard Contact Fields will be created for the Workspace for Users to update Contacts' information. Standard Contact Fields cannot be edited or deleted from the Workspace as these fields may affect platform operations. The list of standard Contact Fields are as follows:
Field Name | Description |
|---|---|
First Name | The Contact's first name. The value can be provided by Channel if applicable. |
Last Name | The Contact's last name. The value can be provided by Channel if applicable. |
Phone Number | The Contact's phone number. The value can be provided by Channel if applicable. |
Email Address | The Contact's email address. The value can be provided by Channel if applicable. |
Country | The Contact's country. The value can be derived from the Contact's phone number if applicable. |
Language | The Contact's preferred language. The value is derived from the Contact's client system if applicable. |
Profile Picture | The Contact's profile picture. This value can only be provided by the Channel if applicable and cannot be changed by the User. |
Custom Fields are User-created Contact Fields that help to further identify Contacts.
Step 1: Navigate to the Settings Module > Contact Fields
Step 2: Click Add Custom Field, a dialog will appear for you to fill in the required information.
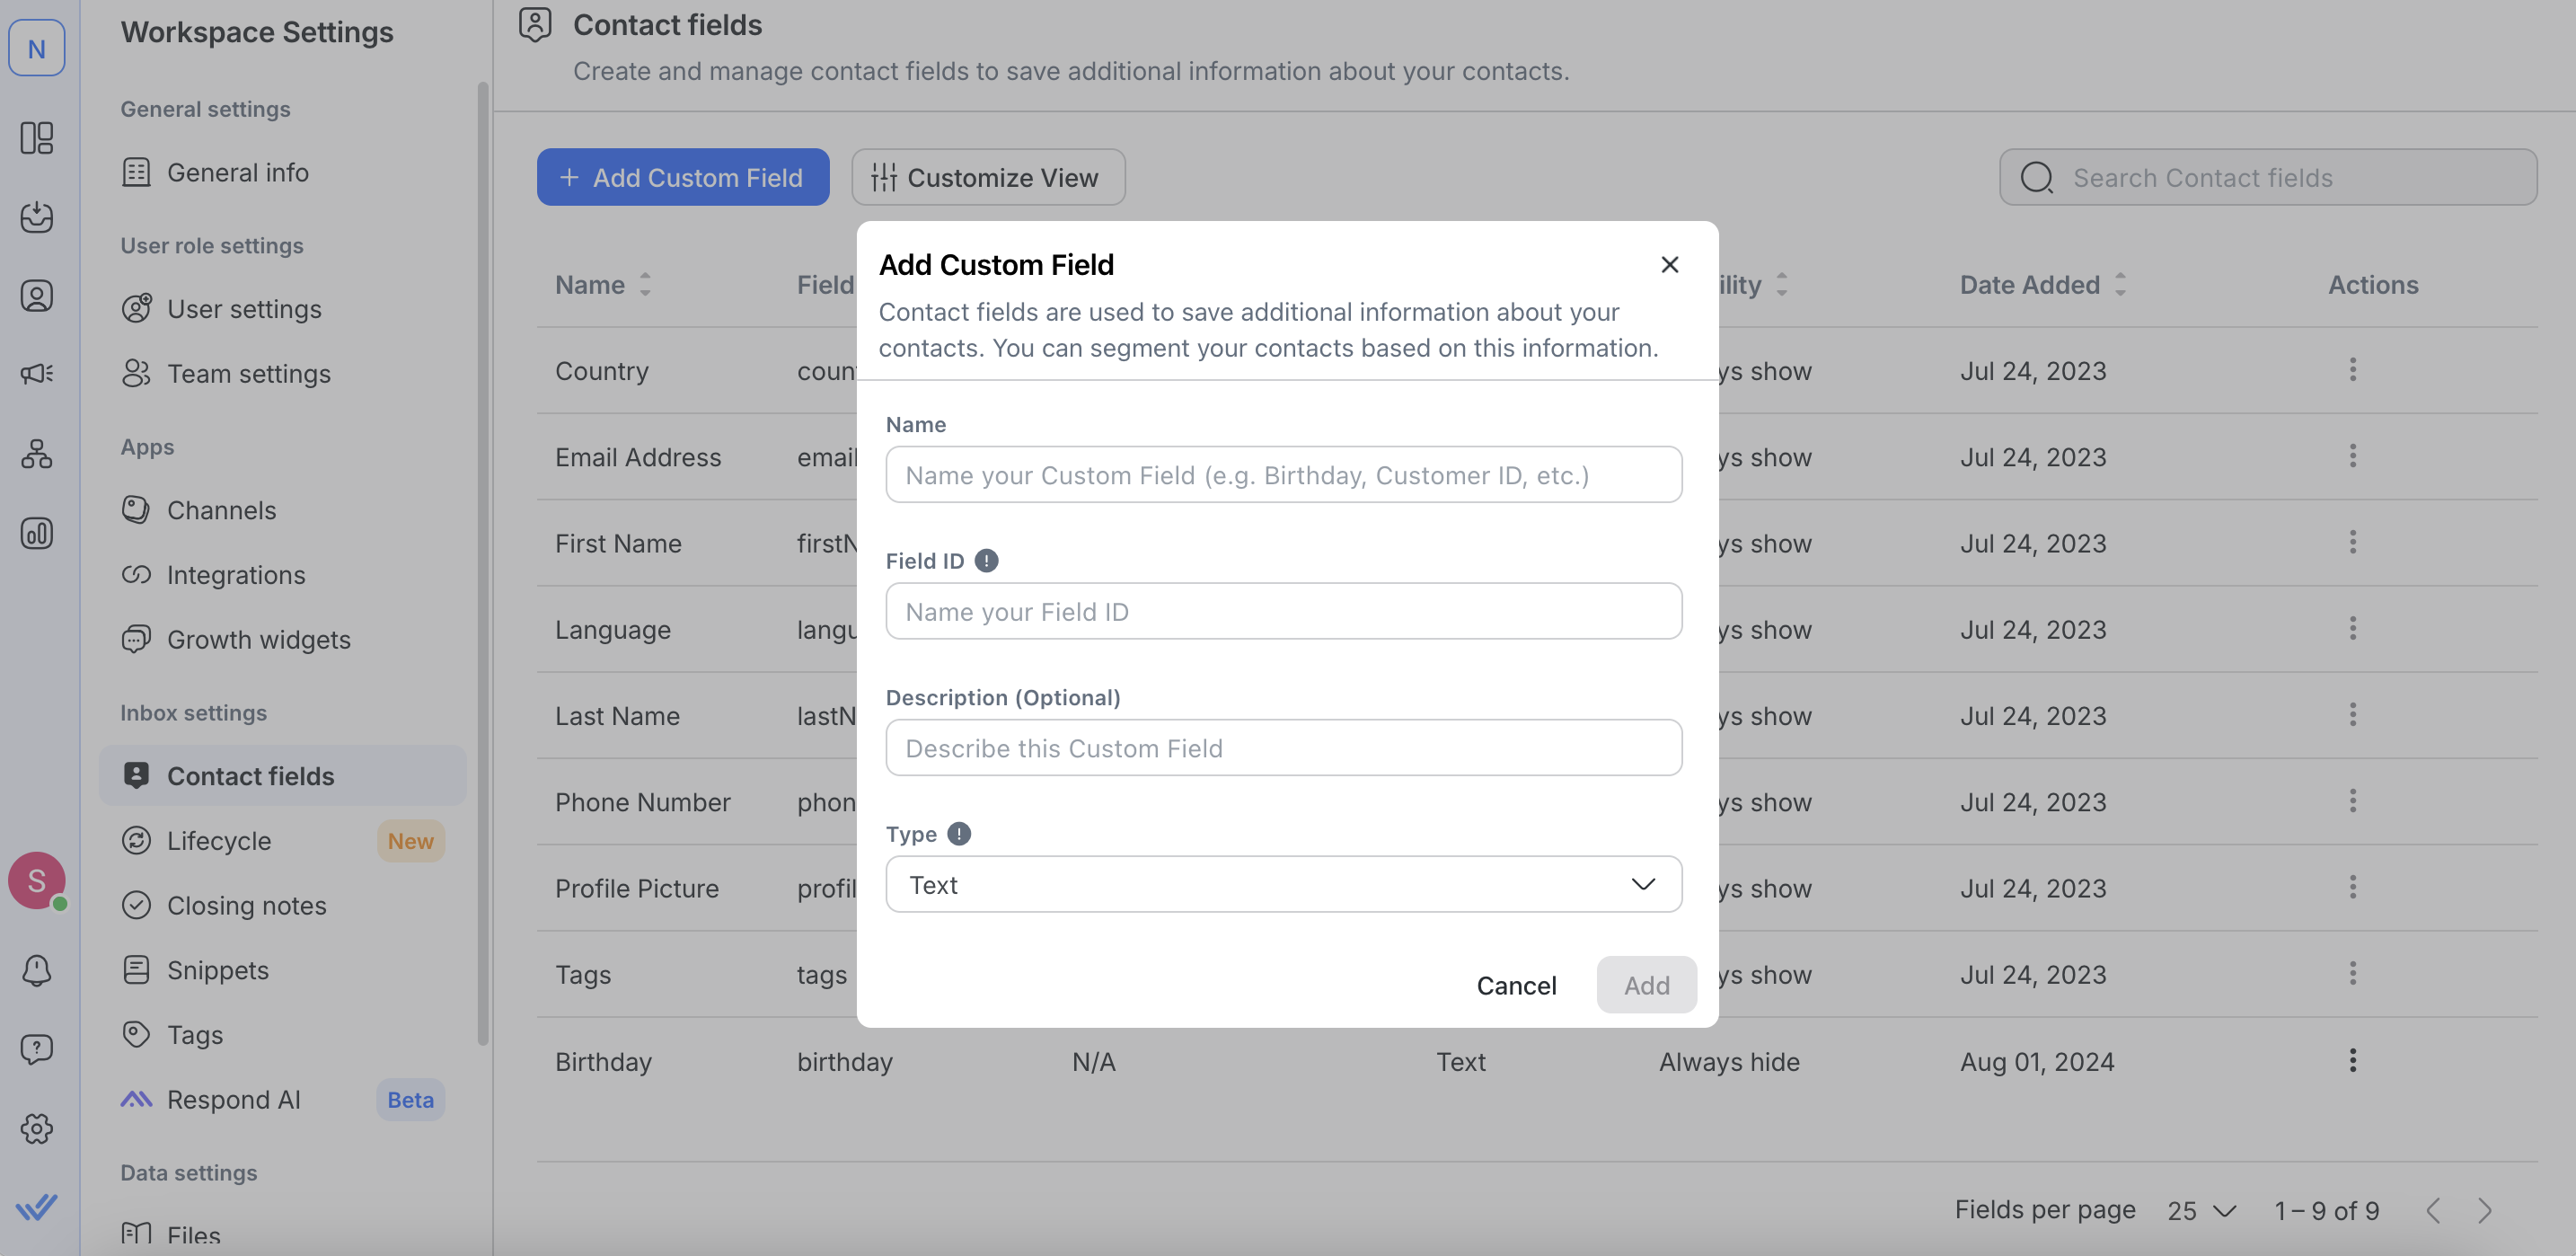
Step 3: Name the new Custom Field and provide a brief description for easy identification and understanding of its purpose. The Field ID, generated from the name, is uneditable and serves as a unique identifier for integrations and APIs.
Make sure Custom Field names and standard Contact Field names are different to prevent dynamic variables in messages from retrieving the wrong data. Read more about dynamic variables here.
Step 4: Select a field type for your new Custom Field. Be sure to choose an appropriate field type to collect relevant and better information for your Contact.
You may select from the following field types:
Field Type | Description |
Text | Suitable for information with string as a formatE.g., Name, Address, Preferred Name |
List | Suitable for information that has a limited set of values (Max character limit for the value is 255)E.g., Plan Type Gender, Favourite Brand, Country, Customer Type |
Checkbox | Suitable for information that has a true or false valueE.g., Lead Status, Allergic, Availability |
Suitable for information that is in email formatE.g., Work email, Personal Email | |
Number | Suitable for information that requires number formatE.g., Plan Value, Number of Transactions |
URL | Suitable for information that requires link formatE.g., Company Website, Privacy Policy, File Link |
Date | Suitable for information that is in date format ("YYYY-MM-DD". e.g. 2023-10-25)E.g., Birthdate, Last transaction dateYou can select dates from the year 1900 to the year 2100 for custom date fields. |
Time | Suitable for information that is in time formatE.g. Preferred contact time |
Choosing the right field type will enable information validation to improve the collection of Contacts' information.
Warning: The platform no longer supports specifying a default value of a Custom Field due to server performance.
From the Custom Field record, click Edit under the Actions menu and the Edit Custom Field dialog will be opened.
Make changes to the Name, Descriptions, values (if applicable) and default value and click Update.
Warning: After a Custom Field is added, you cannot change the Field ID and Field Type. If you need to do so, you can create another Custom Field with the preferred Field ID and Field Type.
You can customize the displayed order of Contact Fields by clicking on the Customize View button.
To reorder the Contact Fields in the Contact Details Drawer, drag and move them to the desired arrangement and click on the Save button. The new arrangement will be reflected in the Contact Details Drawer for all Workspace Users.
To change the display of the Contact Fields on the Contact Details Drawer, change the visibility setting to your desired display option.
There are 3 options for the visibility of Contact Fields:
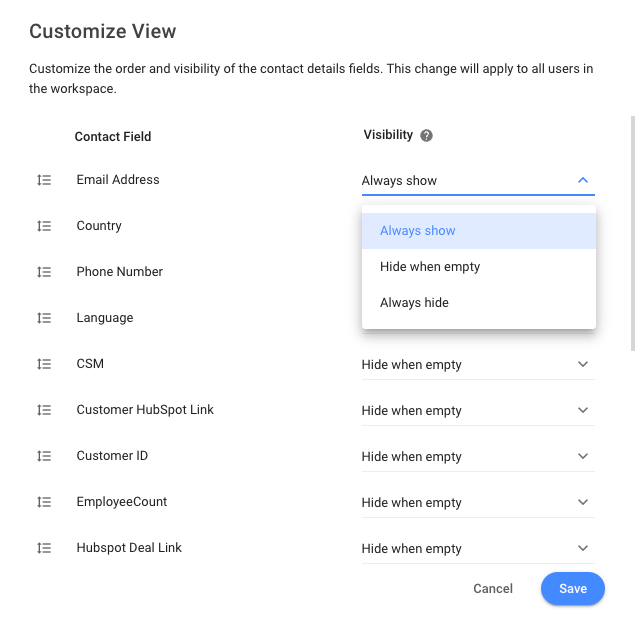
Always show: When this option is selected, the Contact Field will be displayed in the Contact Details Drawer.
Always hide: When this option is selected, the Contact Field will be hidden in the Contact Details Drawer.
Hide when empty: When this option is selected, the Contact Field will be hidden only when its value is empty.
Once the changes are saved, the new visibility configuration will be reflected in the Contact Details Drawer for all Workspace Users.
To view all hidden Contact Fields, click the Show all fields toggle in the drawer. You can hide them again by clicking on the Hide fields button.
Only Owners can delete custom fields.
When a Custom Field is no longer needed, it can be deleted from the Workspace by choosing Delete from the Actions menu.
Deleting a Custom Field will completely remove it from your Workspace and any data associated with the field will be removed.
No, emojis and special characters are not accepted in Contact fields in respond.io. If you attempt to include emojis or special characters in these fields, you will receive an error message stating, "Custom field value has emoji or invalid characters."
When designing workflows with Multiple-Choice Questions (MCQ), it's important to avoid using emojis in the response options intended to be saved as Contact fields.


Related articles 👩💻

